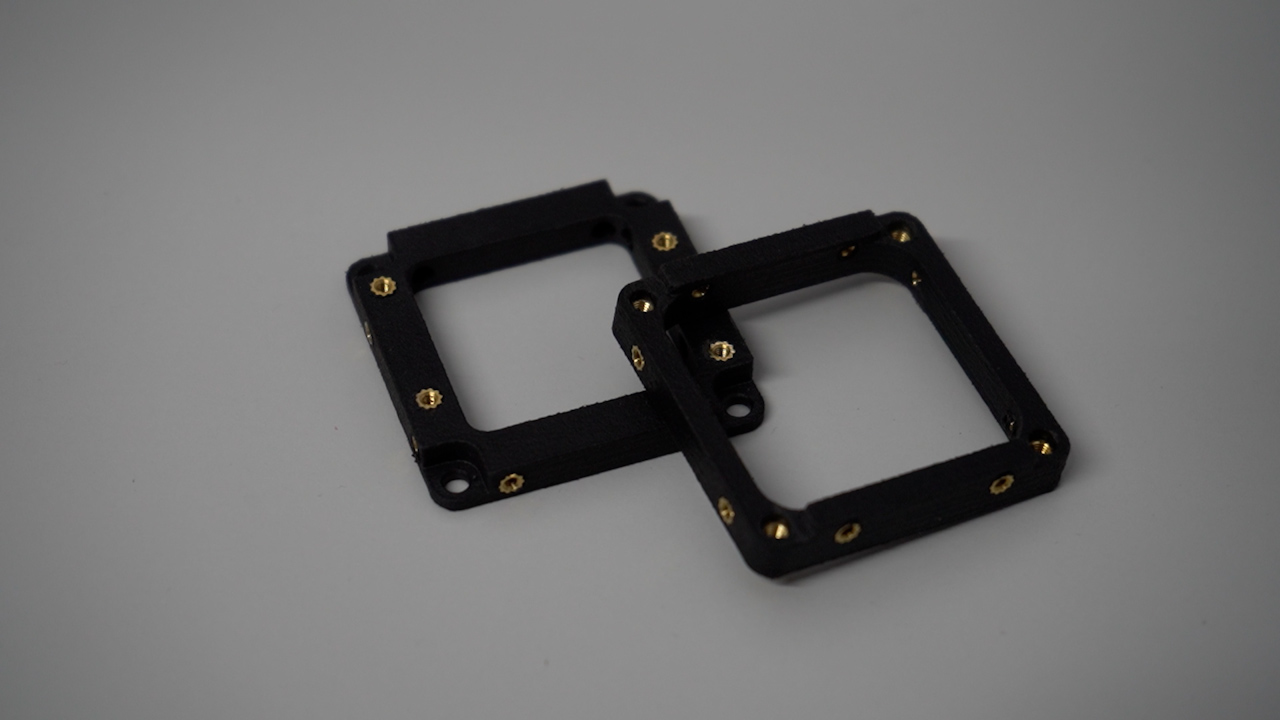
Placing inserts on rails
This chapter will describe how to correctly place the heat inserts into the rails.
What you need
Step 1: Place the inserts
-
Mount and tightly secure the M3 drill;
-
Grab the printed rails and fix them on a vise;
-
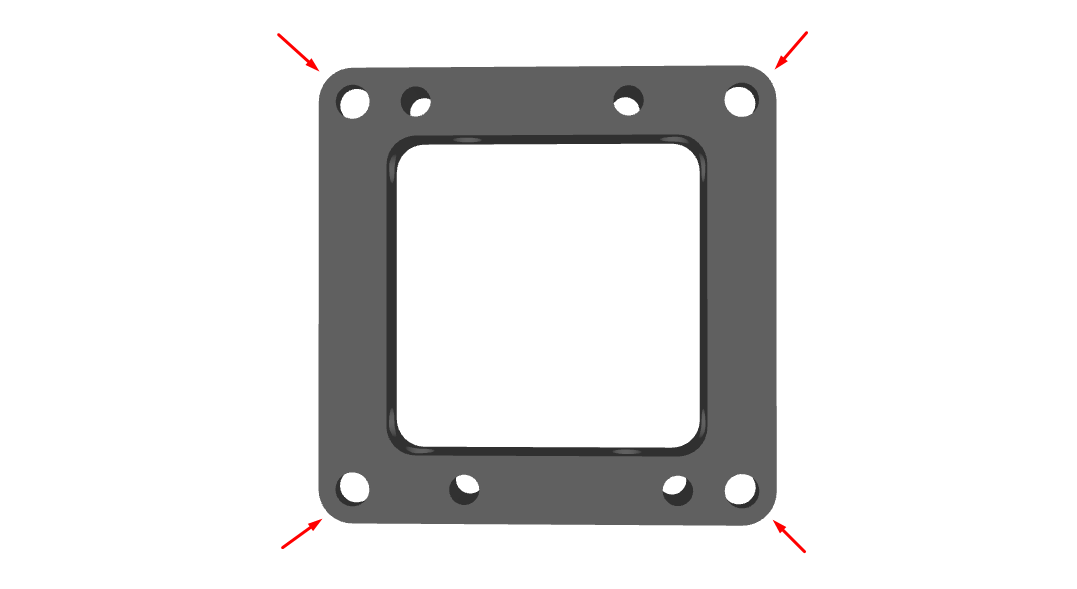
Drill the four M3 holes on the corners of the -Y board to remove imperfections;
TIP: with the drill not rotating, align it with hole and then run it.
-
Repeat the above with a M2 drill in the remaining holes of both boards;
-
Turn on the soldering iron at 275 ºC (slighty above the polymer melting point) and let it heat;
-
Select the right insert for each hole and figure out its orientation;
TIP: check the figure to find out the correct orientation.

- From the outside perspective of the satellite, place each insert on top of the hole and push it down the rail with the iron, until the insert is totally inside;
TIP: make sure it goes down slowly and straight as the plastic melts.
Step 2: Final procedures
-
Sand the remaining material off the hole margins and interiors;
-
Check if the standoffs and screw can be easily fixed;
-
Check if the camera board can be placed on -Y rail and, if needed, sand the side wall to allow it;
Video guide
Press on the image to be redirected to view the video guide on YouTube.